Apple Airplay on Raspberry Pi in 7 Easy Steps
Do you have an existing hifi system that’s too old to support Apple Airplay? Don’t want to replace it with lower-quality wireless speakers, but want to stream music? It’s a common problem. The good news is, for the cost of a Raspberry Pi you can build an Airplay server so you can stream music directly from an iPhone or iPad to your hifi system.
This guide shows you how to set up Shairport-sync so you’ll have a Raspberry Pi playing music in 7 easy steps.
Before You Start
Before you can set up a Raspberry Pi as an Airplay server there are a few things you’ll need.
Choosing a Raspberry Pi
You may have one lying around already. Most models should work, but the Pi Zero will be a problem because it’s harder to set up a network on the Zero. I suggest googling to find out how to do that before you start. Things will be far easier with a Raspberry Pi Zero W model, and the single-core CPU in there works pretty well for streaming so long as you don’t have anything other heavy-duty stuff running.
If you’re buying new, I’d suggest a Model 3. I used a Model 3 A+ with no problems, because I wanted a smaller form factor, wifi and enough grunt. The Raspberry Pi 3 Model B will work equally well.
Choosing an Operating System
The first thing you’ll need is an SD card with an appropriate operating system. You won’t need much storage; you should be able to get away with 4GB, but nowadays it’s hard to find such small cards and you’d be better off buying a multi-pack of 32GB class 10 microSD cards so you can use them for other projects.
When choosing the OS, these days there are a lot of different options, from “traditional” Raspbian to dedicated media operating systems, and even Windows 10 IoT.
Now, an Airplay server is not like Kodi which requires a rich graphical interface. It’s absolutely possible to run it with no UI at all, since all of the user interaction will be done on the iOS or macOS device.
It might be nice to have some kind of display showing the current artist and track information, but that’s a project in itself. For now, concentrate on getting the server working!
So with that established you should be looking towards a more barebones system. There’s no need for lots of applications, and for glitch-free operation you want as few processes running as possible. This is to leave as much CPU and RAM as you can for the media streaming application.
One problem is that some of the barebones OSes, such as Arch Linux, are are aimed at people with quite a lot of Linux knowledge. They’re quite cutting edge and you’re more likely to run into issues when installing third party applications and libraries.
At the other end of the spectrum there are some distributions which are dedicated to this task, and should work out of the box, but you won’t learn anything from that.
For those reasons, if this is your first installation of an Airplay device, I recommend choosing Raspbian Lite. It is mature because it’s derived from the original Raspbian OS, but it has had the GUI removed to save resources. It’s entirely command-line driven, and can easily configured to run in “headless” mode, i.e. accessed entirely remotely over the network with no need for a keyboard or monitor. This makes it ideal for putting into an appliance, and hopefully you’ll learn something in the process.
Install Raspbian Lite and Enable SSH
If you already have an installation, or are confident in doing that part yourself, go ahead.
Otherwise follow my tutorial below, which takes you step-by-step from a raw Raspberry Pi to SSH-enabled Raspbian Lite:-
How To Set Up a Raspberry Pi You Can Control From Anywhere in 30 Minutes
Once you’re set up, you should be able to login to the Raspberry Pi remotely from another computer on your network, and your Pi should have internet access.
Configure the Airplay Server
1. Install Dependencies
First off, you’ll need to install some dependencies so you can build the Airplay server application. Run the following:-
sudo apt-get update
sudo apt-get install autoconf automake avahi-daemon build-essential git libasound2-dev libavahi-client-dev libconfig-dev libdaemon-dev libpopt-dev libssl-dev libtool xmltoman
2. Build & Install shairport-sync
shairport-sync is a fantastic piece of software maintained by Mike Brady. It turns your Linux machine into an Apple Airplay server. One of the best things about it is that it runs entirely on the command line, and while it has a million configuration options, it’s surprisingly easy to get working out of the box.
First grab it from github:-
git clone https://github.com/mikebrady/shairport-sync.git
Now navigate to the shairport-sync directory and configure the build:-
cd shairport-sync
autoreconf -i -f
./configure --with-alsa --with-avahi --with-ssl=openssl --with-systemd --with-metadata
Finally build and install the application:-
make
sudo make install
At the end of this procedure you should have a working installation of shairport-sync.
3. Configure the Audio Output
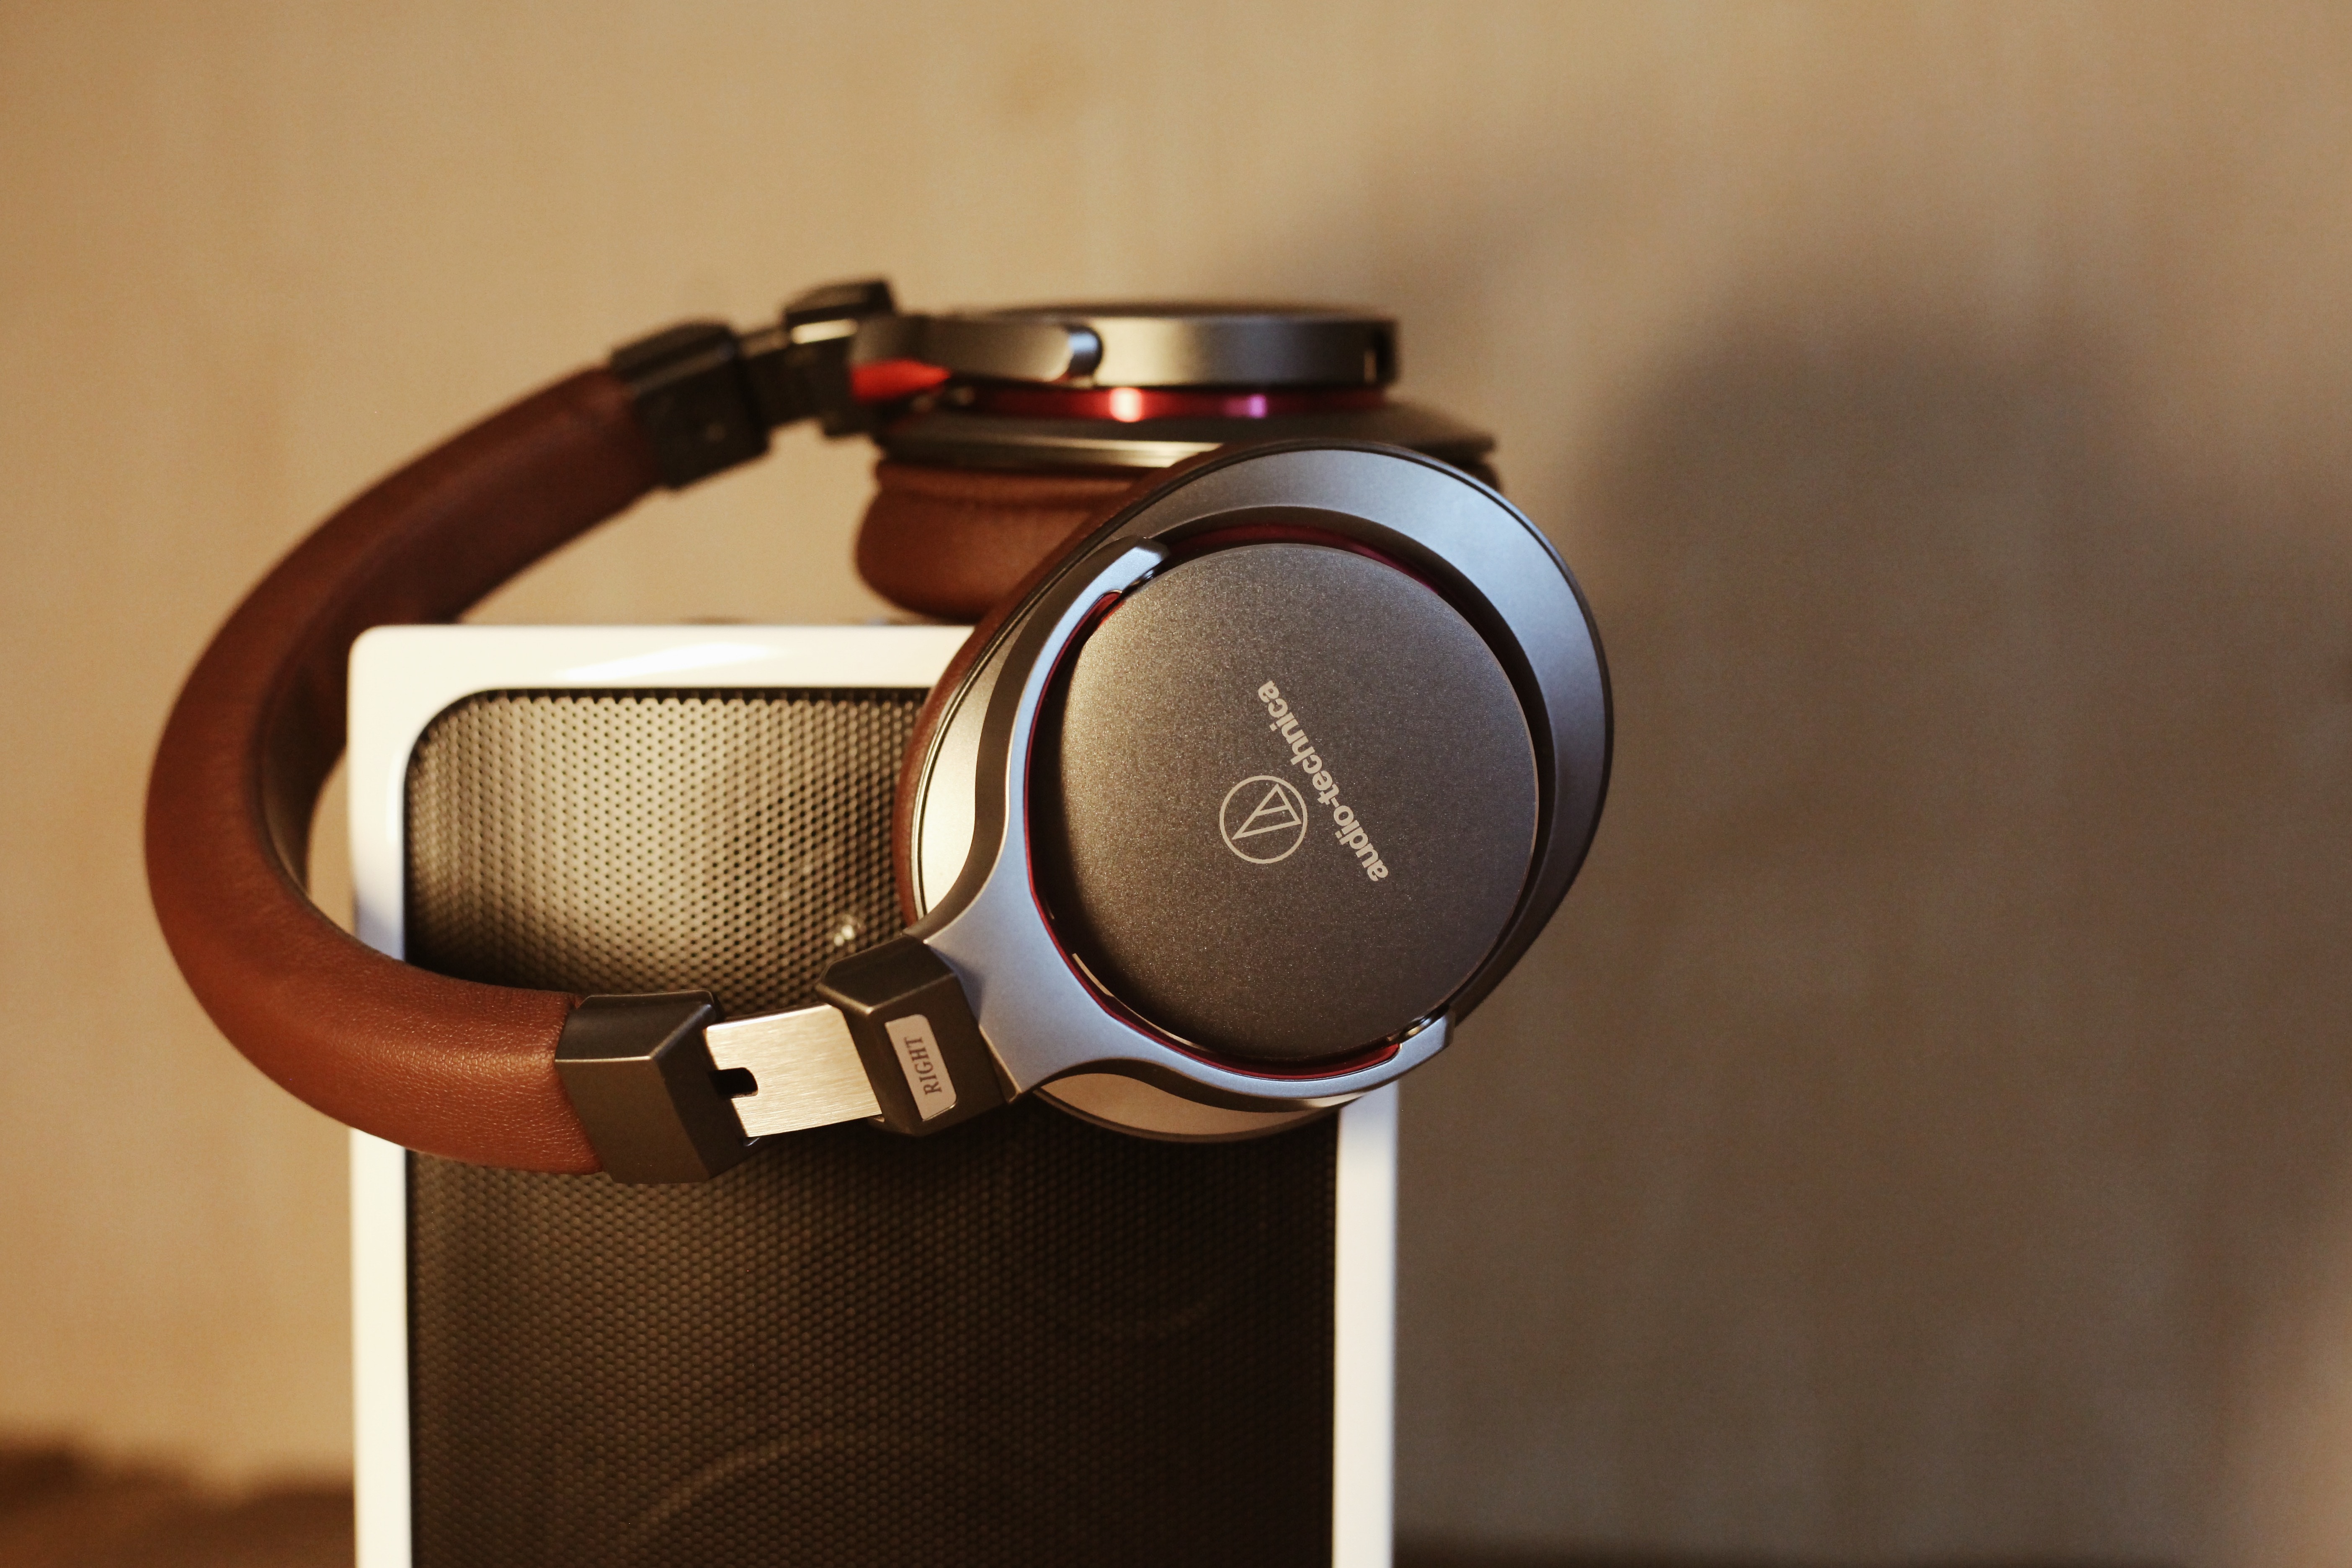
You’re now ready to test the Airplay audio. First you’ll need some hardware. Any of the following will work:-
- headphones, or just about any old earbuds with a 3mm jack
- active speakers from a desktop PC
- or if you’re serious, a hi-fi amp with a cable that converts 3.5mm jack to a pair of RCA phono plugs
Now you need to configure the audio path on the Raspberry Pi. It’s generally set to “auto” but you need to force it to go to the 3.5mm jack. Run raspi-config:-
sudo raspi-config
Select “7. Advanced Options”, then “A4. Audio”, then choose Option 1 “Force 3.5mm (‘headphone’) jack”. This will force the audio path to the 3.5mm headphone jack.
4. Set the Volume
The volume can tend to be very low, so change it to max using:-
amixer sset PCM,0 100%
The volume setting is a bit difficult to use because it’s configured in dB (decibels), which if you’re not an engineer are very unintuitive. In decibels, full volume is generally 0dB, and zero volume is around -100dB. So as if that wasn’t bad enough – and this is the main brain-twister – the decibel scale is not linear.
So when you use the % notation with the amixer command above, you might think it works like a normal volume control but it does not. If you want the volume a touch lower you might perfectly reasonably change it to 80%:-
amixer sset PCM,0 80%
You’ll see the output reports this as around -17dB, but crucially you’ll notice it’s barely audible. The percentage is directly converted to decibels, with the upshot that you can only really hear anything above around 70%.
So, TLDR: keep the volume set to 100%.
5. Test Airplay to the Raspberry Pi
Now start shairport-sync with:-
sudo service shairport-sync start
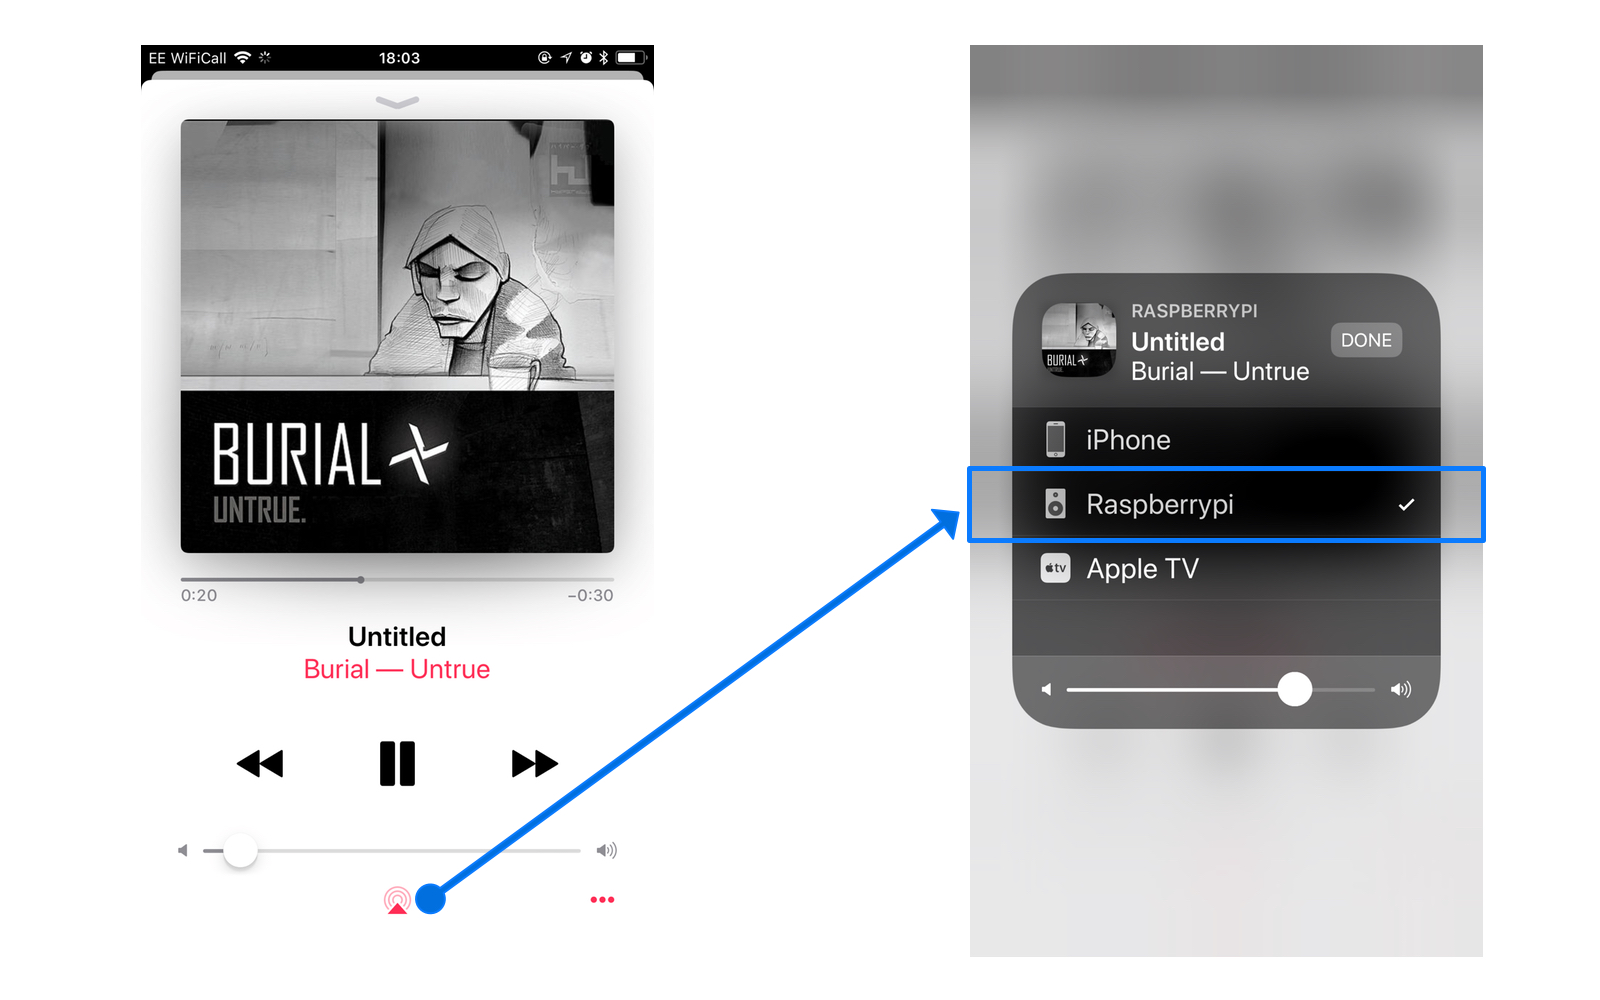
Nothing’s going to happen until you start Airplaying to it, so grab an iPhone or something that supports Airplay, and ensure it’s on the same network as the Raspberry Pi. Start playing some music, and from the Airplay icon select “raspberrypi” and then “Done”.
If you can’t hear anything, Turn your iPhone (or whatever source you’re using) volume up high, because the PCM (headphone) output on the Raspberry Pi is not great.
At this point you should hear the music played through the Raspberry Pi!
6. Configure shairport-sync to Start Automatically
Obviously in a dedicated media player you don’t want to have to start services manually: you want shairport-sync to run as soon as the Pi has booted. Luckily we configured it for systemd operation, which means we can easily enable the service to automatically launch. Just input:-
sudo systemctl enable shairport-sync
This will output a message similar to this:-
Created symlink /etc/systemd/system/multi-user.target.wants/shairport-sync.service → /lib/systemd/system/shairport-sync.service.
That’s all you need to do to create a persistent Airplay server. Reboot:-
sudo reboot
When you log back in over SSH, you can query the shairport-sync service like this:-
sudo systemctl status shairport-sync.service
which will (hopefully) produce something like:-
● shairport-sync.service - Shairport Sync - AirPlay Audio Receiver
   Loaded: loaded (/lib/systemd/system/shairport-sync.service; enabled; vendor preset: enabled)
   Active: active (running) since Wed 2018-12-05 22:30:26 GMT; 1min 16s ago
Main PID: 515 (shairport-sync)
   CGroup: /system.slice/shairport-sync.service
           └─515 /usr/local/bin/shairport-sync

Dec 05 22:30:26 raspberrypi systemd[1]: Started Shairport Sync - AirPlay Audio Receiver.
So you should be able to Airplay to the Raspberry Pi now every time you boot it up.
7. Prevent Wifi Dropouts
The Raspberry Pi wifi will tend to go into power-saving mode periodically, which can cause serious audio glitching when using Airplay. You can prevent this by adding a line to the file /etc/network/interfaces . Edit the file using:-
sudo nano /etc/network/interfaces
Go to the end of the file and add the lines:-
# Disable wifi power management
wireless-power off
After all this, reboot:-
sudo reboot
Now you should be up and running!
Troubleshooting
If you can’t see the raspberrypi device listed in Airplay, check the shairport-sync service is running with:-
sudo systemctl status shairport-sync.service
Check it’s on the same LAN as your Airplay source device, and preferably on the same Wifi network, and in range.
If you’re connected to Airplay and you can’t hear any audio, check the volume levels are high enough.
- On the source device, just slide the volume up to about 80-90%.
- For the Raspberry Pi PCM audio, check the volume setting using:-
amixer sget PCM
This will output the current setting like this:-
Mono: Playback 400 [100%] [4.00dB] [on]
If you’re seeing anything below 70% (-27dB) then you probably won’t be able to hear it. It’s best just to keep this setting at 100%.
Obviously check your audio hardware too!
Note on Audio Quality
This article gained a lot of interest after featuring on Hacker News, and many people mentioned the poor audio quality from the Raspberry Pi’s built-in audio jack. I was planning on writing a follow-up piece about using a DAC board to improve the audio, but before I get around to that I should probably mention it here.
I have tried two DAC boards. The first was the IQAudIO PiDAC+, which has a perfect form factor to fit the new Pi 3 Model A+. I have also used the HiFiBerry DAC+ Zero on a Pi Zero W. They’re both incredibly simple to set up and they sound great.
Another very popular one that I haven’t personally used (yet) is the Pimoroni pHAT DAC.
I have yet to do serious comparative tests on them, but choose either and you’ll see a huge improvement in audio quality.
How To Display Artist & Song Info
When you configured the shairport-sync code earlier, you might have noticed the --with-metadata option. Including that option means you can access the metadata of the currently playing track, in other words the artist, album and song information. Making sense of this information is beyond the scope of this article, but I have written another article showing how you can show it on a display.
Thank you!
Thanks for reading this post, I hope it was helpful.
Have you had any major challenges setting up Raspberry Pi as an Airplay device? Perhaps you’ve done something really unique, or built some cool hardware.
If you have, or if you just want to leave feedback about the article, please leave a comment below or contact me directly. You can also join my mailing list – see the sidebar. I’d love to hear from you!


Great choice of music there! 🙂 And an excellent tutorial, thank you!
Thanks for the feedback, and glad you appreciate the music! I have to admit I agonised slightly over that, because there was plenty of embarrassing stuff I could have chosen instead…
Is it possible to change the name you see in the Airplay list from “Raspberrypi” to something like “Boombox”?
Thanks for the tutorial!
Hi Patrick, thanks for the feedback. Yes, it is possible, I just never got around it to. By default it shows the machine hostname, so you can change that. Alternatively I seem to recall there’s a way of configuring it in `shairport-sync.conf`. When I finish work I can look that up and try it, and let you know.
Lee is correct, you can change name following Github README @ https://github.com/mikebrady/shairport-sync#configuring-shairport-sync
Thanks for clarifying that @deepfriedfilth.
I would like to use the Pi’s HDMI via the Airplay. Any hints for this as opposed to sound only?
Hi Carl, thanks for the comment. I assume you mean video? That’s not something I’ve tried yet. Obviously the processing would be significantly higher. The more recent versions of he Pi are probably more than capable, but you’d have to think about what kind of OS you were running because I’d say you’re less likely to do that on a headless/SSH configuration. There are some dedicated distributions for running multimedia servers on the Pi – I’d recommend checking those out first.
Or just install a distribution like https://volumio.org/get-started/ which has this configured out of the box.
It is worth noting that the sound quality from a standard raspberry pi is very poor so it would be worth investing in a DAC board (e.g. the Allo Boss).
Thanks
Hi John,
Thanks for the feedback and the link. I know about Volumio, but this was as much a learning exercise as anything else. I wanted to see what bare minimum config I’d need to achieve an embedded streaming music player, from scratch.
Re. the DAC card, you’re absolutely right, and that was going to be the subject of a follow-up article!
Tested it on my Orange Pi Lite, It’s working like a charm. Thanks you very much.
Hi taesiri, thanks for the feedback – I had no idea this would work on an Orange Pi, and I appreciate the information. I might look into that platform for future projects!
Since you’re using raspbian, avoid a few steps like installing dependencies + building shairport-sync from source by just installing it via sudo apt-get install shairport-sync
Dependencies should automagically pull when trying to install via this method.
To configure, follow the instructions in the README @h ttps://github.com/mikebrady/shairport-sync#configuring-shairport-sync (scroll down for Raspberry Pi specific instructions)
I do like the added wifi dropout prevention, though!
Thanks for the feedback. My main problem with installing the package via apt-get was that I was not sure what the build configuration would be. Certainly for many people it could make sense to install it this way.
Thanks for the write-up! One thing about the sudo apt-get install method described above is that it is a little old — building it the way described in your article ensure it’s right up to date.
Thanks for the feedback and clarification Mike – good to hear it “from the horse’s mouth”!
`shairport-sync` is a great tool, thank you for all your hard work on it.
This article was great! I now have audio blaring in my kitchen from my phone.
I have a question that I’m hoping someone here can answer. I currently have my Pi 3 outputting to a mini amplifier to power my speakers, but I want to simplify the setup.
I found a nice audio board with a built-in amp from HiFiBerry: http://a.co/d/hJEZf6L
I set up my Pi with Raspian Lite as the article recommends. If I connect this to my Pi, will I be able to output to it using raspi-config, or would it require additional drivers?
Hi Brett, thanks for the great feedback. I’m glad you were able to get this working so well!
Re. the audio board, I haven’t used it but I have used the HifiBerry DAC+ Zero successfully, and it seems the board you linked is basically the same DAC circuit plus an amplifier stage. So I can only tell you what I know from using the HifiBerry DAC+ Zero.
You don’t use
raspi-configfor this but you need to edit/boot/config.txtand do two things.First, disable the on-board audio by commenting out the line that says
dtparam=audio=on(put a # at the start of the line to comment it out).Second, enable the DAC by adding another line to the file. In the case of the DAC+ Zero, the line you add is
dtoverlay=hifiberry-dac, but check the instructions and/or google your specific board in case it’s different. For the DAC+ Zero, the instructions were silkscreened onto the actual board, so I think HifiBerry are pretty helpful!This should be enough to get you running, but there may be additional configuration you need to set the volume level on the amp stage of your board. I’m not familiar with that part, I’m afraid.
Let me know how you get on…