iOS Gradients: How to Use to CAGradientLayer in Swift
This tutorial will teach you how to create iOS gradients in Swift using CAGradientLayer.
There are three other ways of creating gradients you should be aware of before diving in. Each has its pros and cons, which we’ll briefly discuss.
The first and most basic is to simply use an image from a design package such as Photoshop. This is easy but inflexible: you must ensure you have the correct image resolutions for each screen size you need to support. Also the gradient colours are fixed and cannot be animated at all. In modern iOS programming, we generally avoid images wherever possible.
The second, using Core Graphics, is more complex than CAGradientLayer since you need to manipulate the graphics context during the rendering phase of a view, but it can be useful if your gradient needs to be highly dynamic, or if your application is already doing Core Graphics rendering.
The third, using OpenGL directly, is easily the most complex. It definitely only makes sense if you’re already using OpenGL, for instance in a game. If you need to use OpenGL then you probably know already!
When to Use CAGradientLayer
CAGradientLayer is the sweet spot between ease-of-use and functionality. It is easy to animate. It only has a few parameters. And it’s fast.
Whether your app needs static gradients for custom UI components or animated gradients for snazzy controls, you should certainly consider using CAGradientLayer before anything more complex.
The Basics
CAGradientLayer is part of the iOS/macOS Core Animation framework. It is a subclass of CALayer. It’s fast and efficient because, in common with the Core Graphics frameworks in general, it’s built on top of OpenGL. It is also actually rather simple but the documentation is somewhat terse, so this tutorial is here to explain it in more depth.
A CAGradientLayer, at its simplest, defines a gradient between two points, each having a different colour. This is illustrated below.
let gradient = CAGradientLayer()
gradient.frame = self.view.bounds
gradient.colors = [UIColor.red.cgColor, UIColor.blue.cgColor]
self.view.layer.addSublayer(gradient)
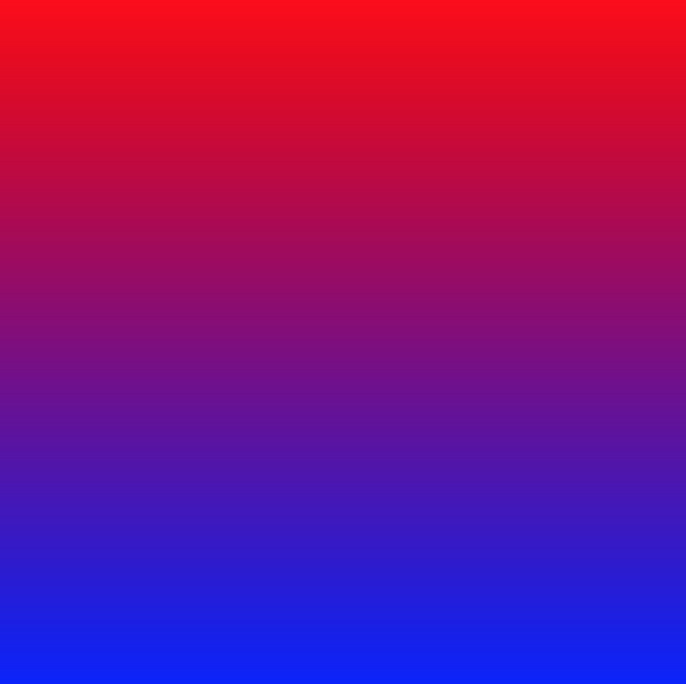
Adding a Gradient to a View
The code above shows how the gradient is added to a view. We’ll look at the relevant lines here.
The gradient is instantiated like this:-
let gradient = CAGradientLayer()
This creates a gradient layer. Next we set the frame to occupy the full bounds of the view:-
gradient.frame = self.view.bounds
Finally we add the gradient layer to the view:-
self.view.layer.addSublayer(gradient)
It is important to remember that CAGradientLayer is a subclass of CALayer, and as such it cannot be added directly to a UIView; instead, it must be added as a sublayer of the view’s layer property.
If we need to remove the gradient at a later time, we can do so like this:-
gradient.removeFromSuperlayer()
Management of layers can become difficult if the layer hierarchies get too complex. In order to prevent this, and also in the spirit of the single responsibility principle, it is in general wise to only have a single gradient per UIView.
Controlling the Parameters
So far so good, but what can we control? There are three things we can change:-
- The start and end points of the gradient
- The colour sequence of the gradient
- The colour locations on the gradient
Changing the start/end points
The start/end points are defined in the layer unit coordinate space, which simply means that whatever the dimensions of the CAGradientLayer, for the purposes of interpolating the gradient we consider the top left to be position (0, 0) and the bottom right to be position (1, 1).
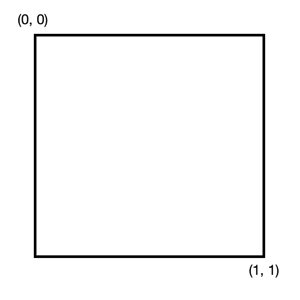
The CAGradientLayer coordinate system
This follows the Core Animation coordinate system, which is the same as the UIKit system, with an upper-left origin as shown below. (This can sometimes be surprising, especially if you’re used to Core Graphics, or coming from macOS, both of which use a lower-left origin coordinate system.)
The default start and end points, which were implicitly used in the example above, are (0.5, 0.0) and (0.5, 1.0), which corresponds to a vector pointing vertically downwards.
Reading Apple’s documentation, it seems they assume you’ll use a CATransform3D to transform the gradient into the orientation you’d like, but that is defintely the hard way to do it: transforms can be mind-bending at the best of times!
Luckily there’s an easier way, and we can set the gradient vector using the following properties:-
var startPoint: CGFloat
var endPoint: CGFloat
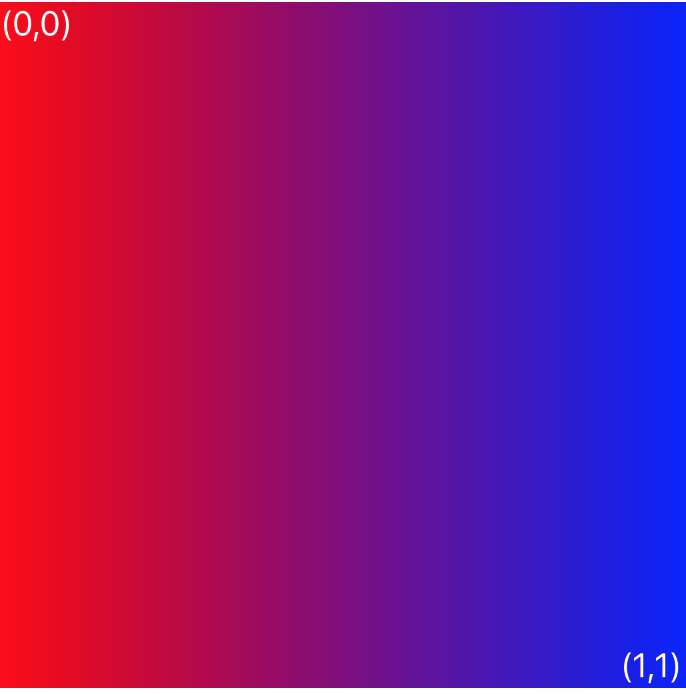
So to define a gradient running horizontally from left to right, the start and end points, respectively, would be (0.0, 0.5) and (1.0, 0.5), as illustrated below.
gradient.startPoint = CGPoint(x: 0.0, y: 0.5)
gradient.endPoint = CGPoint(x: 1.0, y: 0.5)
A diagonal gradient running from top left to the bottom right defined as start (0.0, 0.0) and end (1.0, 1.0), again illustrated.
gradient.startPoint = CGPoint(x: 0.0, y: 0.0)
gradient.endPoint = CGPoint(x: 1.0, y: 1.0)
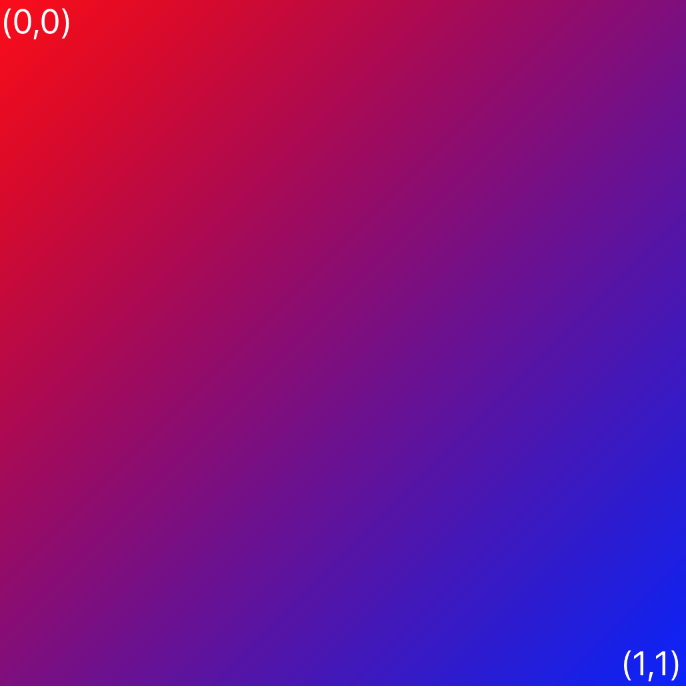
Changing the colour sequence
The colour sequence is specified as an array of CGColorRefs:-
var colors: [Any]?
Setting an arbitrary number of colours in this array will create a gradient that interpolates through all the colours in the array. By default, it will be interpolated evenly across the geometry of the gradient, from startPoint to endPoint. For example, the following code snippet will produce a rainbow effect.
let gradient = CAGradientLayer()
gradient.frame = CGRect(x: 0, y: 0, width: self.view.bounds.width, height: 100)
gradient.startPoint = CGPoint(x:0.0, y:0.5)
gradient.endPoint = CGPoint(x:1.0, y:0.5)
gradient.colors = [UIColor.red.cgColor, UIColor.orange.cgColor, UIColor.yellow.cgColor, UIColor.green.cgColor, UIColor.blue.cgColor, UIColor.purple.cgColor]
self.view.layer.addSublayer(gradient)

Changing the colour locations
As already stated above, the colours are interpolated evenly across the gradient. Sometimes we need more control of where the colour changes occur. In CAGradientLayer terms these are called colour stops, and they can be changed using another array:-
var locations: [NSNumber]?
The values in this array must be between 0 and 1, and specify the colour stops in fractional terms across the geometry of the gradient. The documentation states that the values in this array must be “monotonically increasing”, which is math-speak for saying each successive value must be greater than the previous one. This makes sense when you think about it – trying to imagine a gradient that started going backwards on itself would be strange.
Its much easier to explain with a picture. The code snippet below is the same as the rainbow code above, but with the colour stops compressed towards the right-hand side.
let gradient = CAGradientLayer()
gradient.frame = CGRect(x: 0, y: 200, width: self.view.bounds.width, height: 100)
gradient.startPoint = CGPoint(x:0.0, y:0.5)
gradient.endPoint = CGPoint(x:1.0, y:0.5)
gradient.colors = [UIColor.red.cgColor, UIColor.orange.cgColor, UIColor.yellow.cgColor, UIColor.green.cgColor, UIColor.blue.cgColor, UIColor.purple.cgColor]
gradient.locations = [0.0, 0.6, 0.7, 0.8, 0.9, 1.0]
self.view.layer.addSublayer(gradient)

Combined with the other properties, the locations property gives the developer full control over the interpolation of the gradient.
A Note About the Length of the Locations Array
The length of the locations array would normally match the length of the colors array. However, it’s not an error if they don’t. Unexpected effects can be caused by this. It’s also possible that some developers will deliberately do this in order to get “flat” colour effects within their gradients, but their code will be harder to understand and they will achieve nothing that can’t be done by using the arrays as designed.
Conclusion
In this article you learned how to use all the properties of CAGradientLayer.
First of all you learned how to create a gradient layer and add it to a view. Next you learned how to set the start and end points of the gradient, how to specify the colours and finally how to control the gradient stops using the locations array.
Hopefully that is enough information for you to really get to work producing beautiful gradient effects in your apps.
All the properties you have learned about here are animatable. Soon I will be writing another article on this subject, so be sure to come back and check.



Interesting article. You might want to check your coordinates for the initial example of the end coordinate for the vertical default gradient. It seems it should be (0.5, 1.0)
In your current version of the article, it’s written as: (1.0, 0.5)
“The default start and end points, which were implicitly used in the example above, are (0.5, 0.0) and (1.0, 0.5), which corresponds to a vector pointing vertically downwards.”
Thank you for spotting that Suman – I really appreciate the helpful feedback and I’ve fixed it now.
That’s a great tutorial – really clear explanation, thanks!
Thanks Inkster, really appreciate the feedback!